Exp-16 -> Create, edit, open, save new powerpoint presentation for COPA Trade
How to open MS PowerPoint, Edit, Save Powerpoint presentation
In Windows 8/above:
Step 1: Press Windows + c to open the search bar
Step 2: Type PowerPoint & click on the MS Office version you are having in your system. MS Office window will pop up.
In Windows 7 or below:
Step 1: Go to the program section in the windows start menu.
Step 2: Go to MS Office & click on it. A drop-down list is seen
Step 3: Click on MS PowerPoint & MS PowerPoint window will pop up.
Creating a Presentation
Once your MS PowerPoint Window pops up, you can create & save the file by:
Step 1: Click on the Microsoft button on the top left.
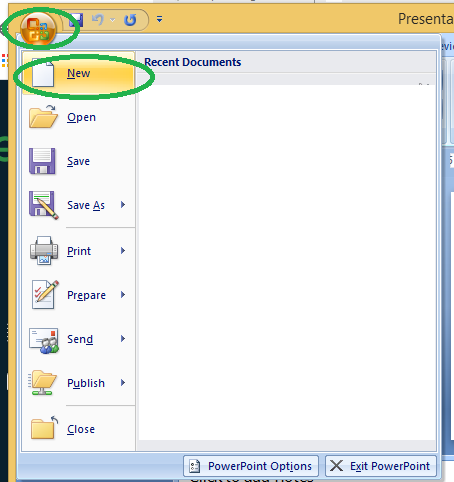
Step 2: Click on new, a new Presentation window will pop up.
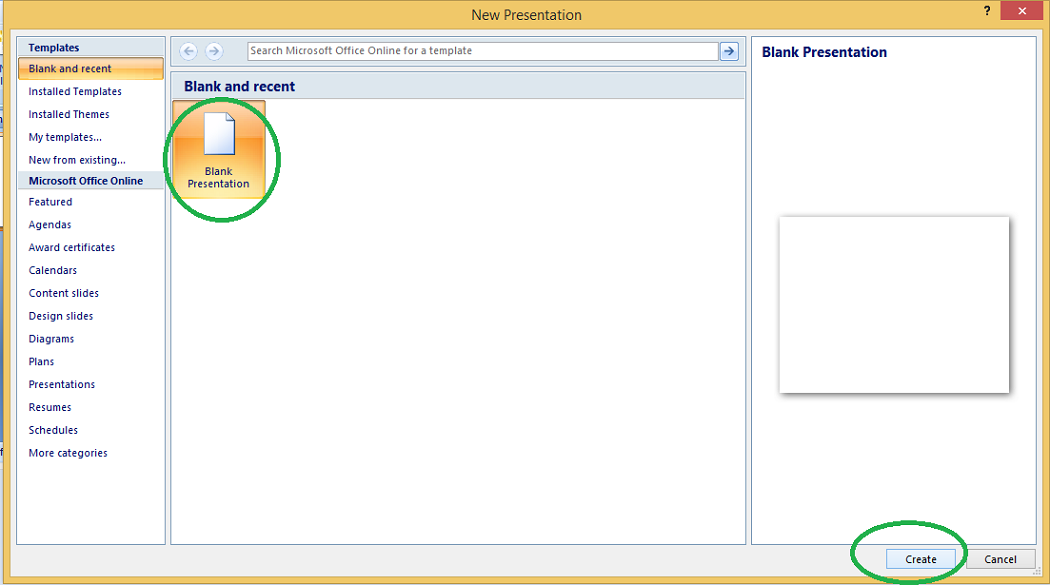
Step 3: Click on Create & a new presentation will be created.
Note: Shortcut for New: Ctrl +n
Saving a Presentation
Once you have created a presentation, it can be easily saved with the help of following steps:
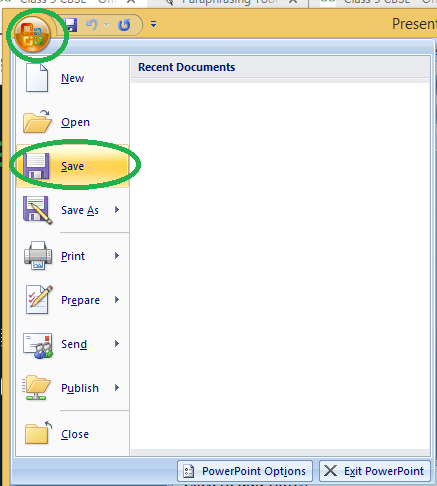
Step 1: Click on the Microsoft icon
Step 2: Click on the Save button
Step 3: A new Window for Save As will pop up.
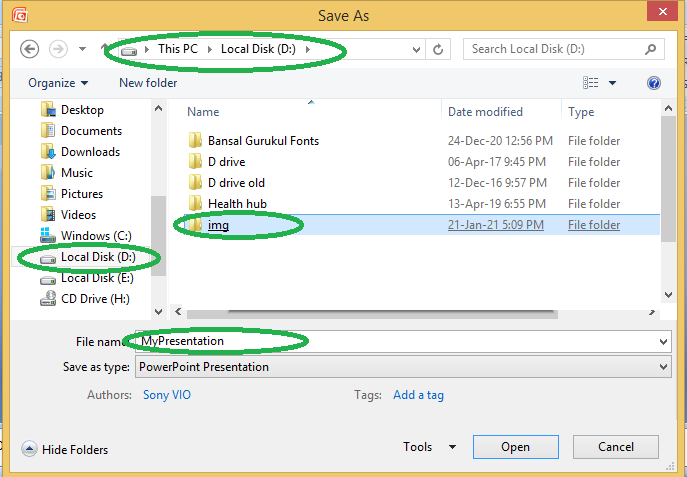
Step 4: Select the drive (by clicking on it: Example: Local Drive (D)) in which you want to save the presentation. Then your drive will open up, select the folder in which you want to save the presentation (Example: img folder here) & then give the required name to your presentation (Example: MyPresentation here). Your presentation is created & saved with the provided name.
Note: Shortcut for save: Ctrl + s
Basic Elements of a PowerPoint Window/Slide
You can see various bars in the presentation window. They are:
(i) Title Bar: This shows the name/title given by you to the current presentation. If user do not save the presentation by any name, default name given by MS PowerPoint appears in this bar.
(ii) Menu Bar: Contains menu items like insert, views, design, animations, etc.
(iii) Office Button: MS Office button on the left-most top.
(iv) Formatting Toolbar: Have tools like Bold, Italic, Underline, Font shape & size etc. to format your data.
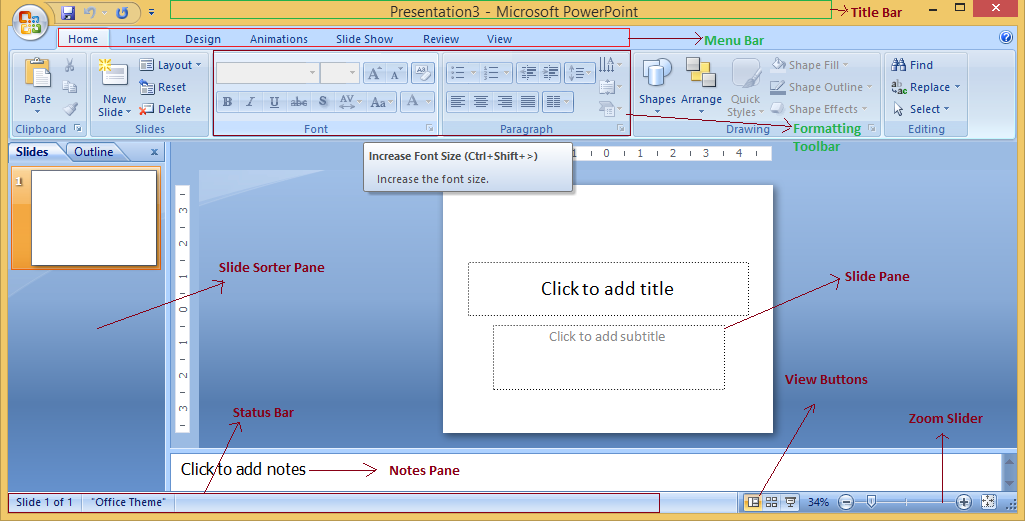
(v) Zoom Slider: To zoom in or zoom out your presentation.
(vi) Slide Sorter Pane: This allows us to choose which slides will be shown in which sequence during the slide show.
(vii) Notes Pane: This allows us to type notes that we may require later when preparing for the presentation, but they will not be displayed during the slide show.
(viii) View Buttons: Provides different views of your presentation like : normal, slide show & slide sorter.
(ix) Slide Pane: This is where we type, format, and otherwise design the slide.
Concept of Slide Shows
After preparing the presentation, it’s time for the slide show. Steps for slide show are:
Step 1. Click on the view Option on the top Menu Toolbar
Step 2. Click on the slide show option.

Step 3. The slide show will start (Press Esc key (escape) to come out of slide show)
Note: Shortcut for the slide show is: F5
